Pinterest templates are a really great resource that help people to save time making pins while still creating beautiful (and clickable) pins.
And, did you know that you can create your own Pinterest templates right in Canva?
You can even sell these templates or use them to grow your email list!
This post will show you exactly how you can create Pinterest pin templates in Canva and share them with others.
Let’s dive in!
Please note: Pinterest is always changing, and while I try my best to update my posts, not all information may be up to date. If you’re looking too see the most updated tips, strategies, and information, check out this resource page.
What are Pinterest templates?
Pinterest templates are essentially easily customizable Pinterest pins.
You can take a Pinterest template and transform it into a new pin to best fit your content in just minutes.
For instance, look at the before and after of this Pinterest template below:
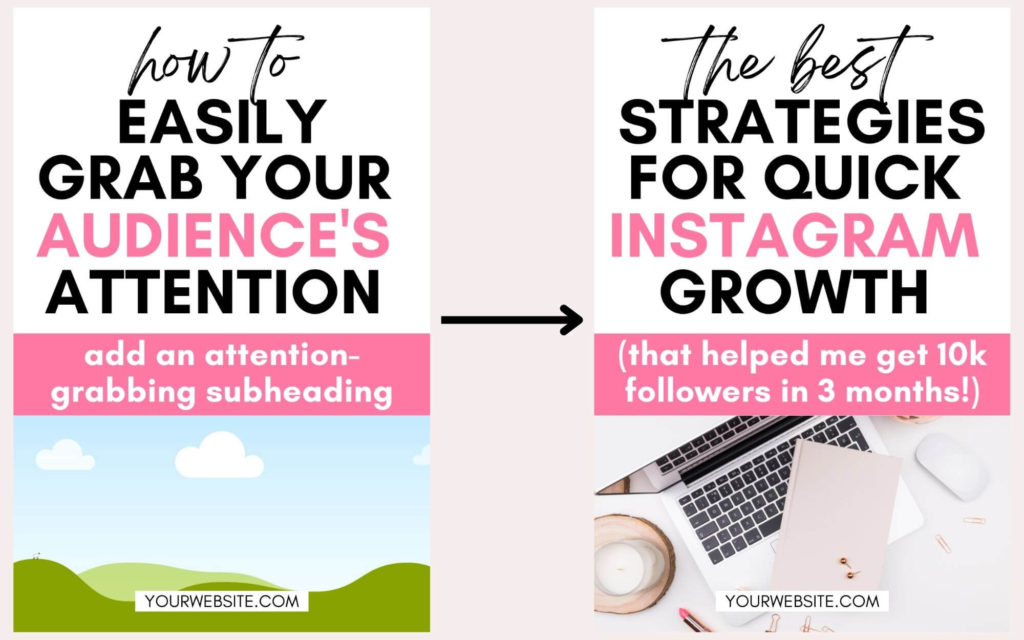
As you can see, I took a Pinterest template and changed the words and added a background image to make it a brand new pin. Next, all I’d have to do is download it and publish it on Pinterest!
Why are Pinterest templates good to use?
Many people like to use Pinterest templates for a variety of reasons such as…
- You don’t need good graphic design skills – The way your pins look can matter. Oftentimes, people who don’t like designing or aren’t great at it will look for pin templates so they can still create beautiful pins.
- Speed up pin creation – When you use Pinterest templates, it can significantly decrease how much time it takes for you to make pins, which can allow you to focus more on other areas of your business.
- They are easy to use – You can easily create new pins in just minutes by changing words or images!
- They last forever – You can use the same pin template over and over and over and still create a new design each time!
How to make Pinterest templates in Canva
Canva is one of the best design platforms out there, and it is also one of the most popular ones. I highly suggest using Canva to create your Pinterest pins because that is what most people tend to use.
For this tutorial, I’ll show you the process I use to create my Pinterest templates. Different people will create them in different ways, and these are ultimately your templates so you can do whatever you want with them!
1. Create a new design
In Canva, create a new design for your templates.
I recommend that you create a custom sized design and use 1000 px by 1500 px (as Pinterest suggests) or a longer ratio because that is generally what performs best on Pinterest.
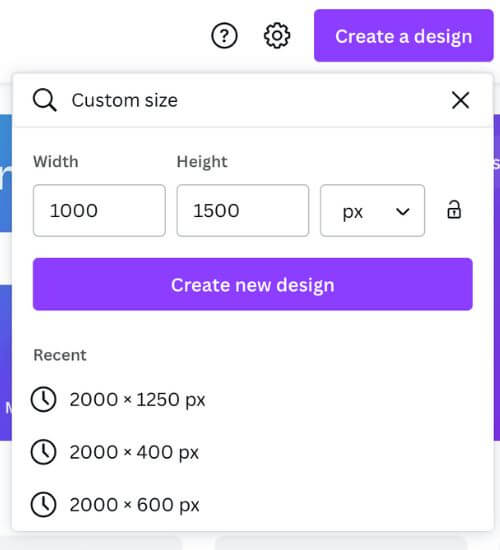
Make sure you also name your design!
2. Create an intro page
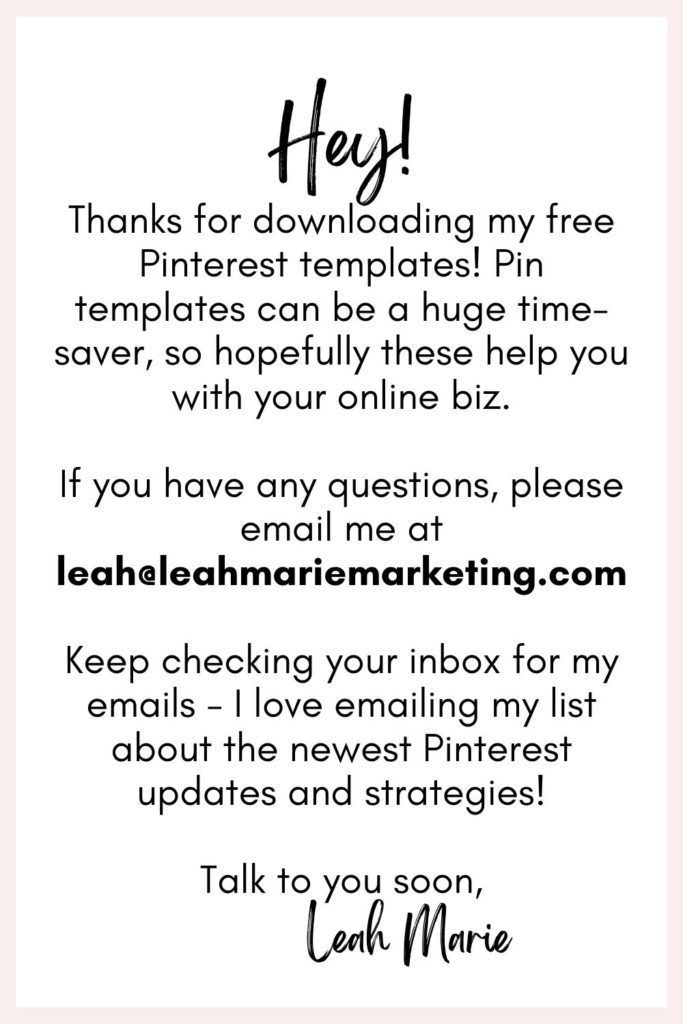
This part isn’t necessary, but I like to do this to thank my audience and let them know how they can find me or contact me. You can also include coupon codes such as Get 20% off your next purchase with this code to encourage people to come back for more!
Here’s an example of my intro page:
3. Design your Pinterest templates
This is the creative part where you can do essentially whatever you want!
Here are some examples of my templates:
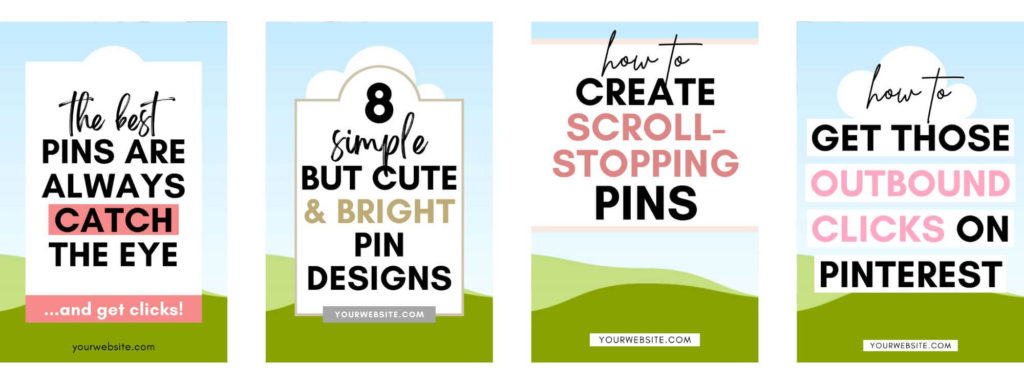
Here’s some things that I do and why:
- Use frames – This allows users to drag and drop their images right into the frames. This makes it easy to customize and you also don’t have to worry about finding images. (You can find frames by going to Elements and scrolling down to Frames. Click See all to find hundreds of frames. You can reach for certain frame designs too!)
- Include a spot for their website – Many users link pins to content on their website and like to include the URL on their pins to (1) prevent others from stealing pins and (2) let users know the content is on their website. If users don’t want this, they can simply delete it.
- Use generic titles – This is just my preference because it encourages users to create their own titles.
Important: Be careful if you use any Canva Pro elements, images, fonts, etc. on your pins (as I’m not completely sure if your template users will be able to use them if they aren’t Canva Pro subscribers).
Suggested: 20+ Best Stand-Out Canva Fonts For Pinterest Pins
How to share and sell your templates
Once your templates are done, it’s time to share them with the world!
You can do this in a variety of ways such as by selling them on Etsy or Creative Market, using them as an opt-in freebie to grow your email list (which I do using MailerLite), and more!
You can choose to share your templates in whatever way you like.
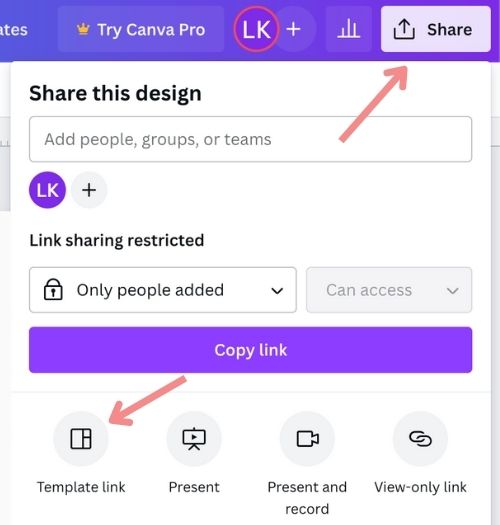
To get the link to share your templates, click on the Share button in the upper left-hand corner of the screen. Then, click the Template link option.
(This used to be only available for Canva Pro users, but now anyone can do this – even with a free Canva account!)
Copy the link given to you. This is the link to your templates. When users click this link, they will be given a message like this:
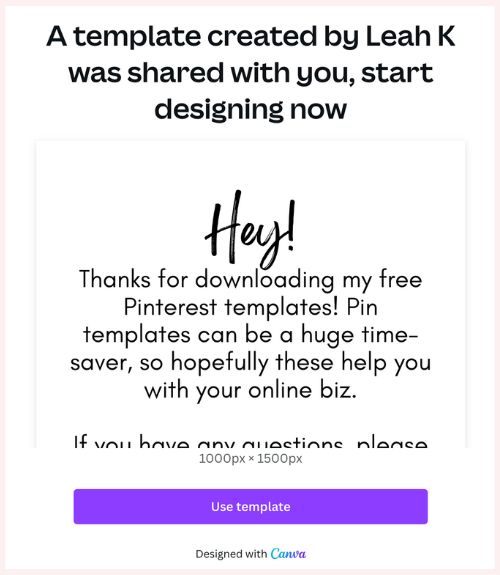
This opens your design as a template for them. From there, they can customize their Pinterest pins any way they want and create beautiful pins to publish!
Conclusion
I hope that this post has helped you to learn how to create Pinterest templates in Canva and share them with others!
If you have any questions or tips, be sure to leave them in the comments below.
If you want more valuable Pinterest information so you can skyrocket your success, read more on my blog or join my email list (I provide some of my MOST VALUABLE INFORMATION to my email list!)
I hope to see you around again soon. Thanks for reading!
SAVE FOR LATER!
